To register, use the form at the bottom of this page
Number of Attendees: 4 Duration: 6 hours. £299
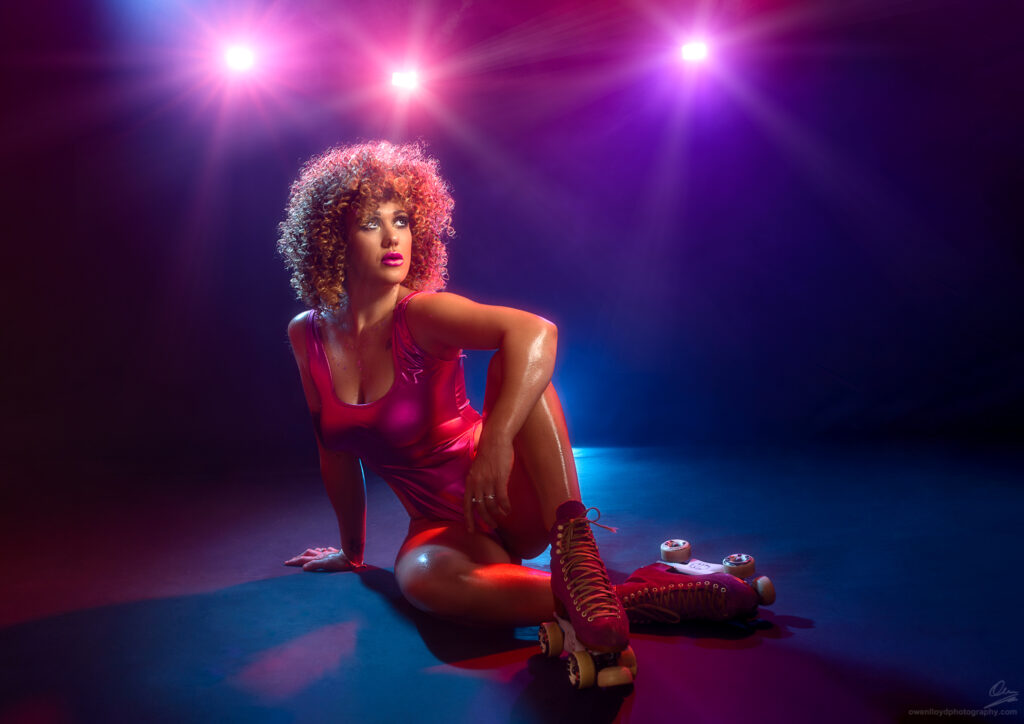
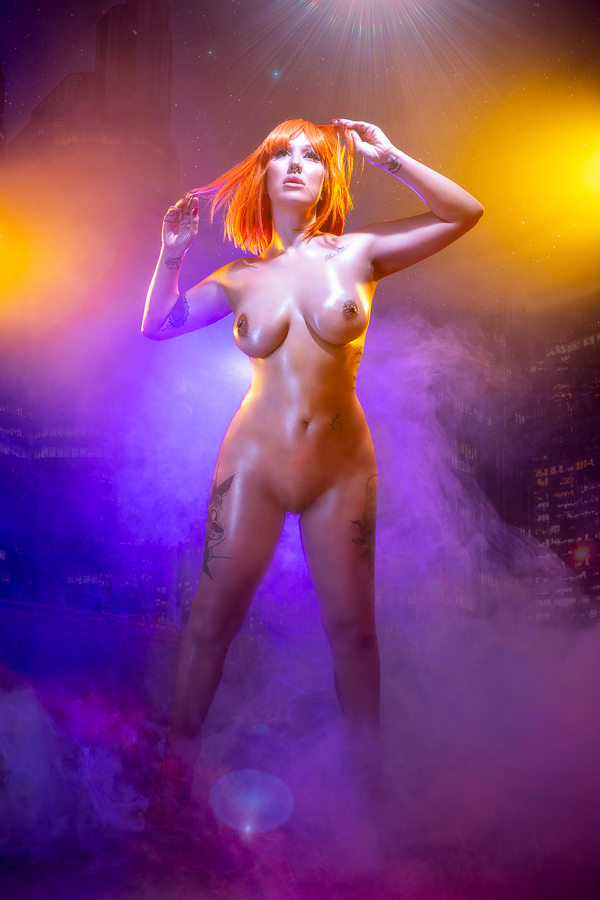
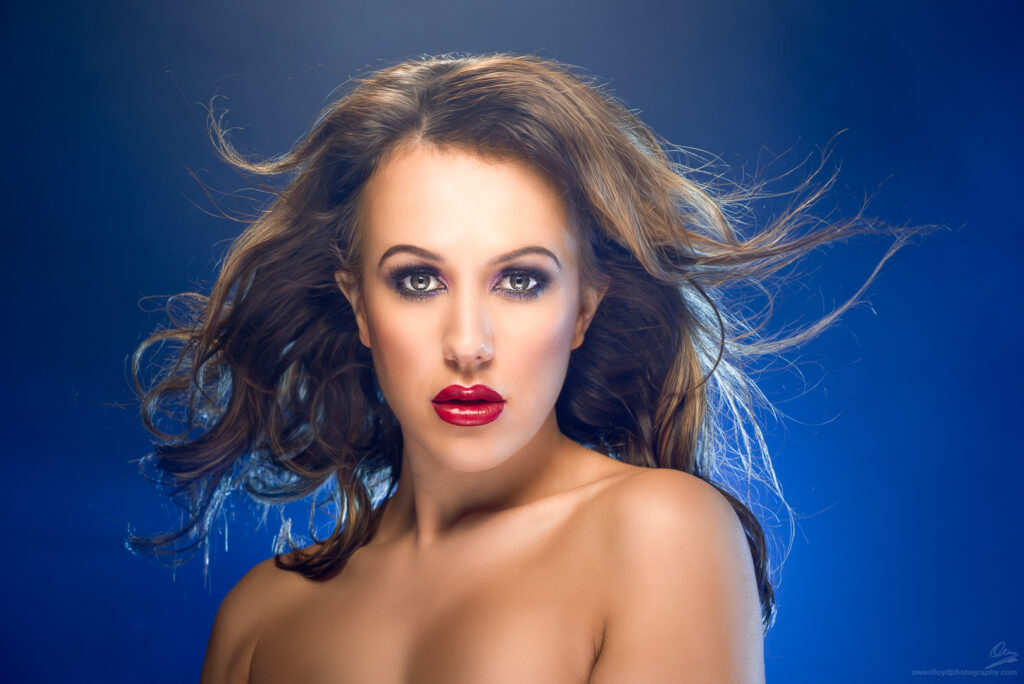
The realms of fantasy…
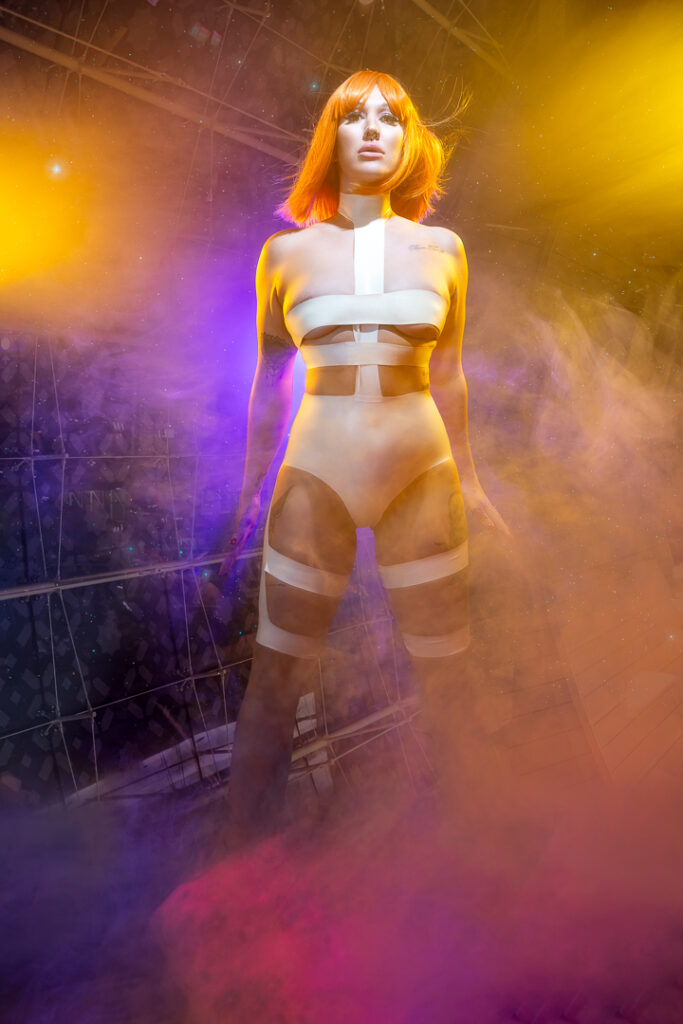
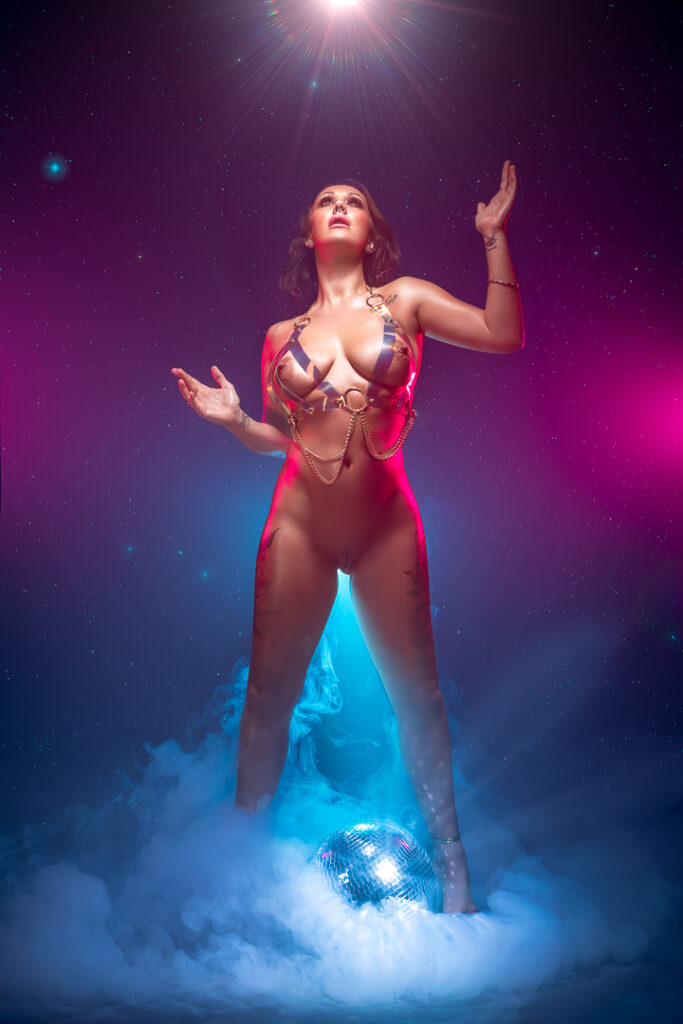
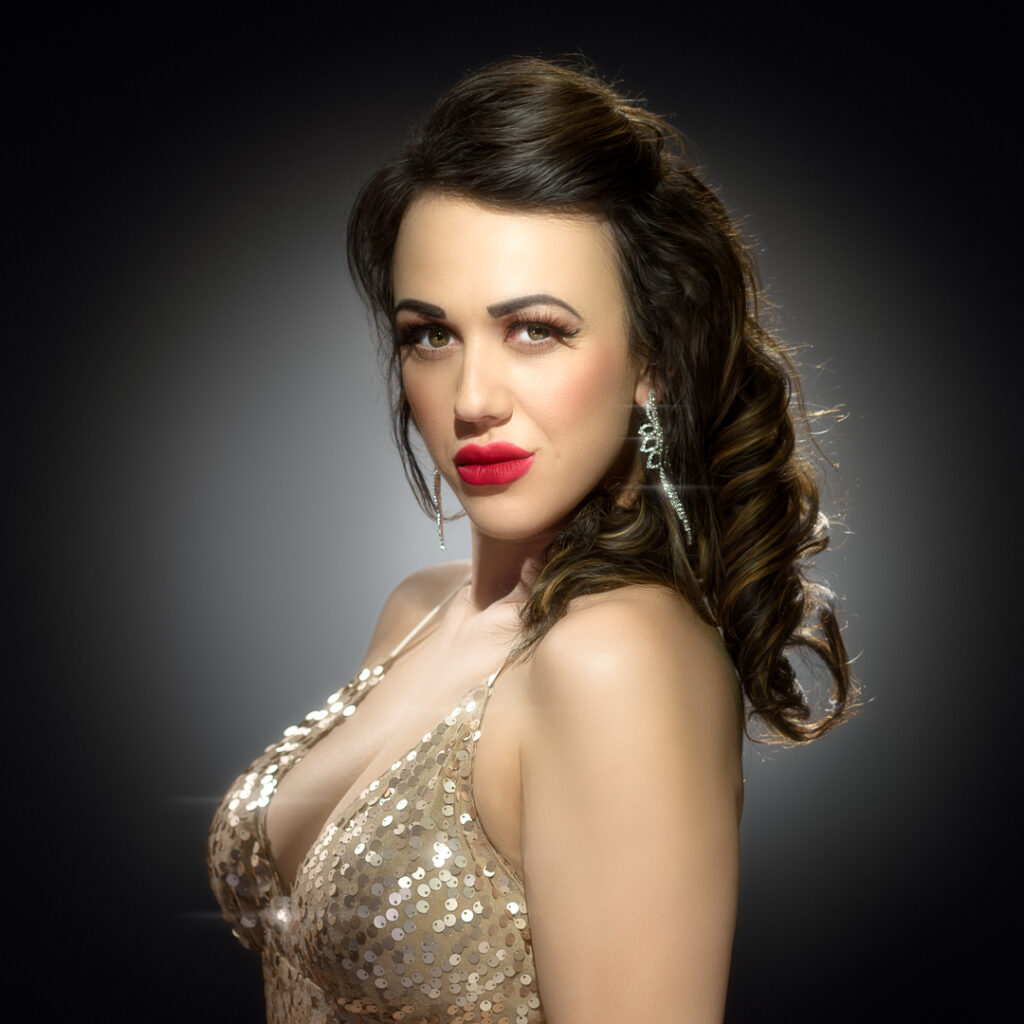
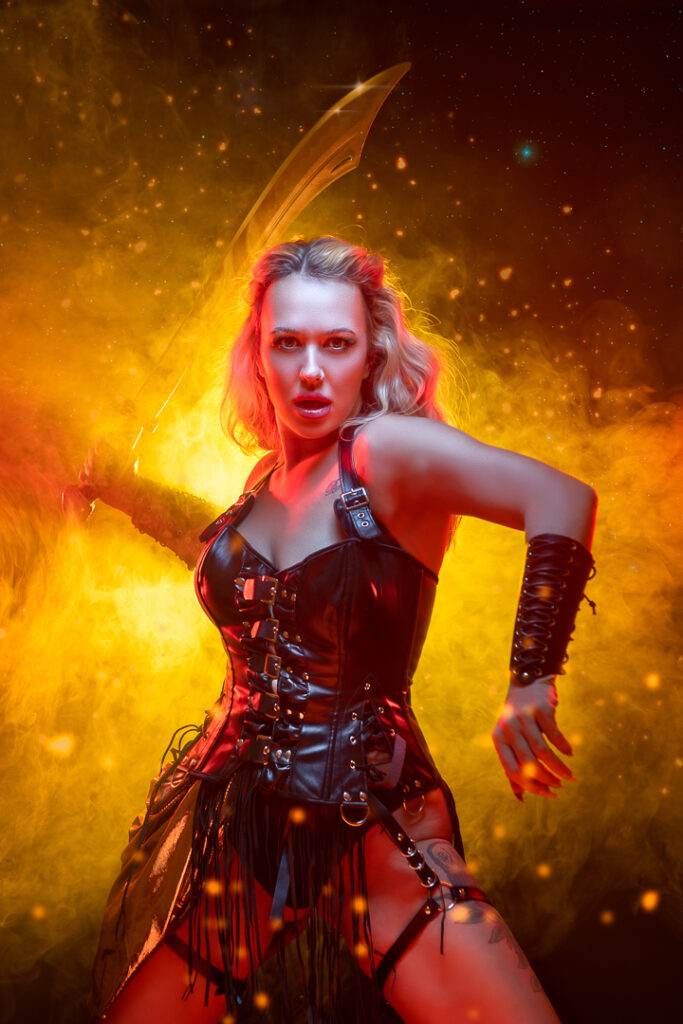
We run through 4 of our most iconic lighting styles: The Warrior, Vintage Glamour, Nude Goddess, and CyberGlam in one day. You’ll help build the light for each of these sets and see first hand how we establish and tweak each set for maximum impact.
This page also outlines the preparation you’ll need to do if you’re joining a workshop or tutorial with me, and some notes on key concepts to save time going over these on the day – in order to maximise your practical shooting time.
Equipment you’ll need to bring
Camera: your camera will need to offer full manual control of exposure, and have a hot shoe with a standard centre pin. Note: these Canon cameras are not suitable for these workshops as their hot-shoes lack the standard centre firing pin: 200Dmkii, 1500D, 2000D, 3000D, and 4000D
Lenses: you’ll need a lens or lenses that cover around 35mm to 150mm on a 35mm (or so called “full frame”) camera, or the equivalent field of view for other camera sizes. A zoom lens is best for this type of work as it will allow you to crop in for 3/4 shots, head shots etc from the same lighting setup very quickly. Also, sometimes your model will surprise you with very expressive and wide hand or leg gestures and you’ll suddenly need an increased field of view We’ll be shooting at f/8 (or equivalent for your camera’s sensor size) all day, so expensive, “fast” lenses will be of no benefit. I use a 24-70 f/2.8 zoom, and a 70-200 f/4 zoom for almost all of my studio work (on a 35mm camera).
Tripod: a tripod is only required for a very small number of the techniques I use: for zoom bursts, and long exposures with moving lights or moving subjects. A tripod can also help when using dimmer light sources such as projectors. Other than those, we’ll shoot hand-held, to maximise the variety of shots we can get from a set.
Cards and batteries: make sure you have enough of both!
Clothing!
This may seem an odd one, but I find, inevitably, I will end up rolling on the floor at some point to get a shot! Or at least sitting, or kneeling. Looser clothing will make your life easier during the shoot! Outdoor/hiking clothes are good for this. I am usually styled by Craghoppers for most shoots
Auto-Focus setup
Working in a studio with a skilled and experienced model, it is important to establish and maintain a flow of poses. Most experienced models will shift to a new pose, or just tweak the pose after every shot. If we can keep steady pace of shooting around once per second, we’ll get more shots, and the model will be able to settle into a familiar rhythm.
Almost all cameras, out of the box, will attempt to auto-focus when you press the shutter release button. We want to focus on the leading eye. If the camera tries to auto-focus every time we take a picture, this means you will need to aim it at the model’s eye, press the shutter release part-way, recompose the shot, and then take the picture. For every shot. This will result in a very stilted, and uneasy shoot with the model having to hold their pose for much longer while you focus the lens, every time.
Most cameras have either a dedicated button to trigger the auto-focus (for Nikon this is labelled “AF-ON”), or a way of programming a button to do this. The “half press to focus” thing, is a throwback to point-and-shoot film cameras that didn’t have a dedicated focus button. For shooting in the studio with a model, I highly recommend disabling autofocus on the shutter release, so that all it does when you press that, is take a picture. On-set, you will focus once using the dedicated AF button, compose the shot, and then shoot several frames.
Mirrorless cameras with eye-detect auto-focus: this will work most of the time, however if the model is facing away from you there will be no eye to focus on, and the camera may pick up a head, or person or just do something weird depending on which camera you have. Some techniques also involve shooting in an absolutely dark studio, and again, there will be no eyes. I recommend reading up on how to configure your mirrorless camera to use a traditional focus cursor as a back up just in case your Eye-AF doesn’t behave as expected.
Please read the manual for your camera, and if your camera can support this, disable AF on the shutter release before attending the workshop.
Setting your camera up
Apart from disabling AF on the shutter release, you’ll also need to set the AF to a single point. You can use single-shot or continuous AF as this no longer matters if the AF is not triggered when you take a picture. I leave my camera in continuous AF (if I want it to stop auto-focusing, I stop pressing the button :-/ )
Ensure you know how to:-
- Put the camera in manual mode
- Adjust the aperture
- Adjust the shutter speed – inc. how to access “bulb” mode for the shutter
- Adjust the Iso
- Adjust the white-balance
Your camera should be set to record a raw file for each image. Developing the images yourself from the raw sensor data will give a much better result. Make sure you have set your camera up to do this before the session: i.e. either “Raw”, or “Raw+JPEG” if you also want a developed image using the values set in the camera.
For 90% of the setups we will shoot, your camera will be set to:
Iso 100*, 1/160th shutter speed, at f/8 with the white-balance set to “flash”.
(* or your camera’s “native” base Iso – eg, on a Nikon D850, this is Iso 64).
Things we’ll talk about during the session:-
- Communicating with your model while shooting
- Optimising your time – getting the most out of each set
- Hard light and how to make it
- Fill light
- Creating a triangle between our camera, our model and the light
- Varying our shooting position to get different light, and visual arrangement
- Edge lights, side lights and background lights
- Colour: picking some gel colours that work
- Ways of attaching gels to lights
- Fog, how to make it, light it and (to a certain extent!) control it
- Blowing hair when using fog
Post Production techniques
I have a YouTube channel, more or less just to house recordings of me processing images, so you can see the rest of the journey my images take after I leave the studio. You can find it here: https://www.youtube.com/@owenlloyd
Techniques you can see me using on these videos include:-
- Colour and tone curve work in Lightroom
- Clean up – removing junk from the image
- Skin blemish removal
- Skin tone smoothing whilst retaining texture
- Applying shine
- Lips, eyes, teeth retouching
- Maximising form in fog
- Sharpening
- Applying Glow
- Applying textures to backdrops, and adding in landscape or other background details in fog
- BorisFX – Stars, flares, aurora
- Making sharp edges on plastic swords
Once we receive your registration request we’ll contact you to take a £100 deposit to confirm your place. Full joining instructions will be issued in the week before the workshop date.