To register, use the form at the bottom of this page
Number of Attendees: 4 Duration: 4 hours Venue: The Kiln Studios, Stoke Cost £250
If you’re just starting out with lighting, then this is the workshop for you. We’ll take you through the fundamental principles of light, how to make it, control it and use it to create the look you’re after for your shot.
Why light your subjects?
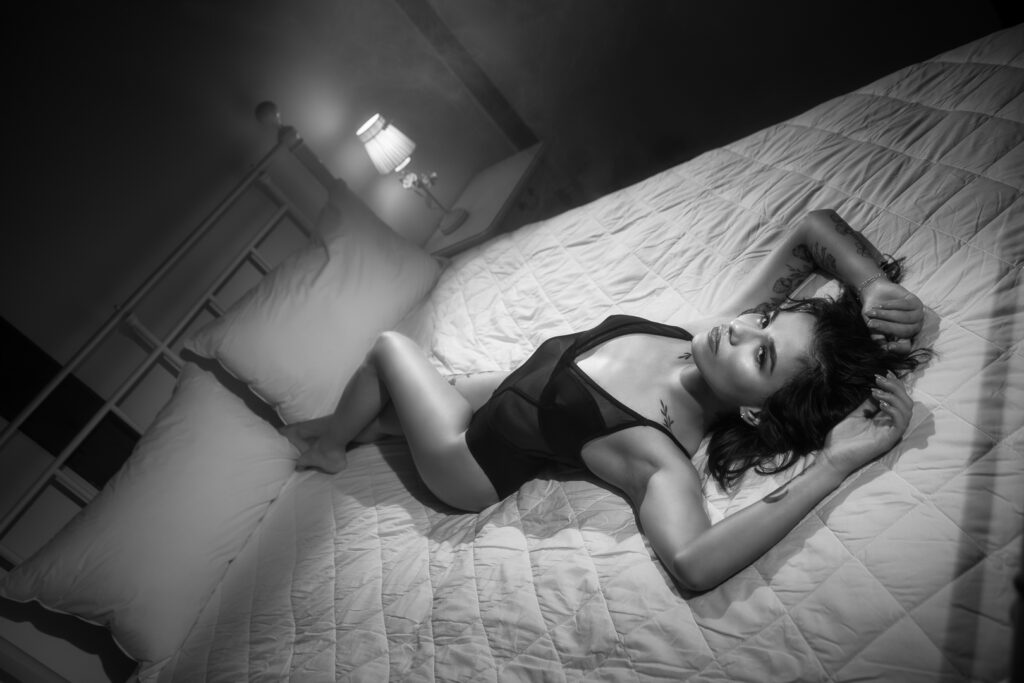
Lighting is such a fundamental part of photography (after all, you don’t get a photo at all without light). Making your own light opens up a whole world of creativity! Join us on this 4-hour introduction to studio lighting where we’ll take you through the basic principles of light, and how to make it.
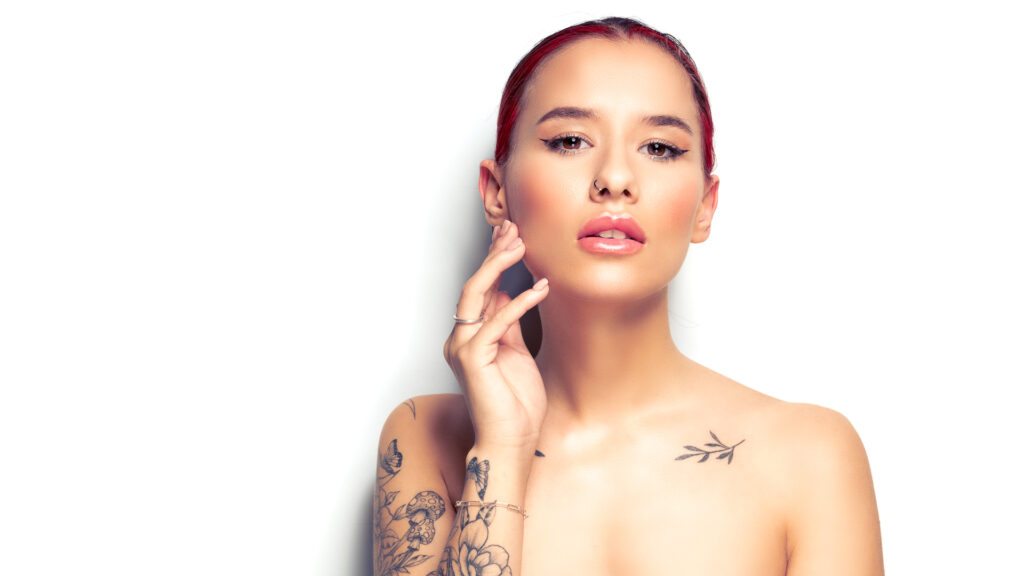
We’ll look at soft beauty light, hard light, what difusion actually means (!), How to control your light so it only goes where you want it. How to light a backdrop, control shadow density and direction. We’ll talk about what looks good, and some problems and how to fix them.
We’ll look at typical lighting equipment you’ll find in a studio including big mains powered flash heads, battery powered heads and small portable flash. We’ll talk about the pros and cons of flash vs continuous light and when you might want to use each, or both. We’ll look at LED lights, incandescent spotlights, softboxes, reflector dishes and umbrellas. We’ll look at ways controlling light using grids, snoots, barn doors and flags. We’ll also look at the rest of the kit you need such as flash controllers and triggers, lighting grip – i.e. the scaffolding you need to hold lights in place such as stands, boom arms, counterweights, and sandbags. We’ll talk about taking lighting out on location, and mixing it with the daylight, or street lighting.
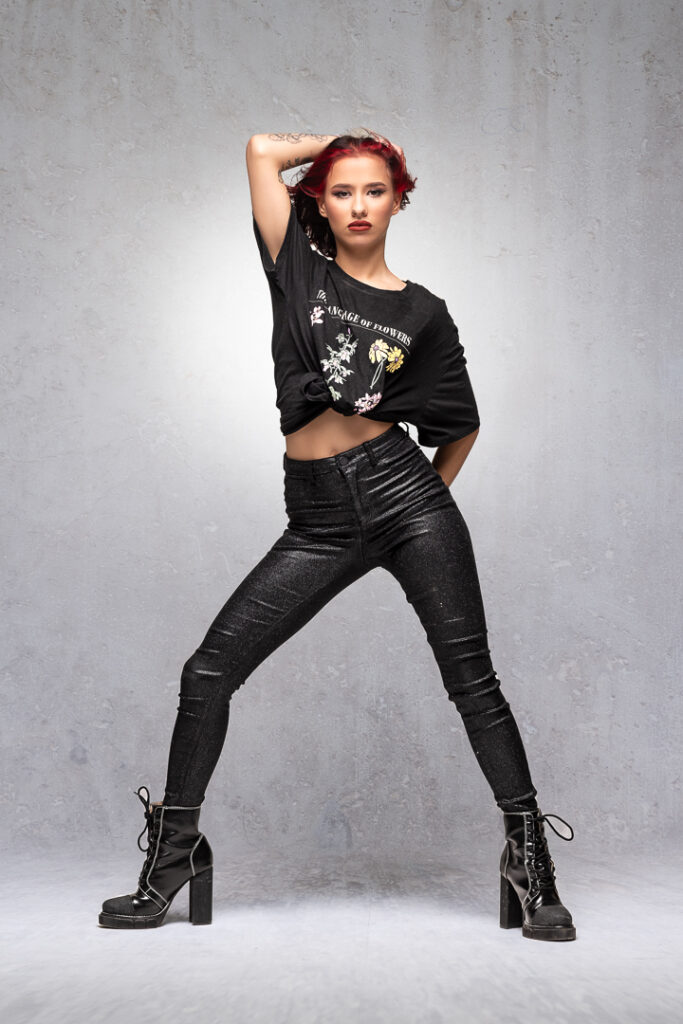
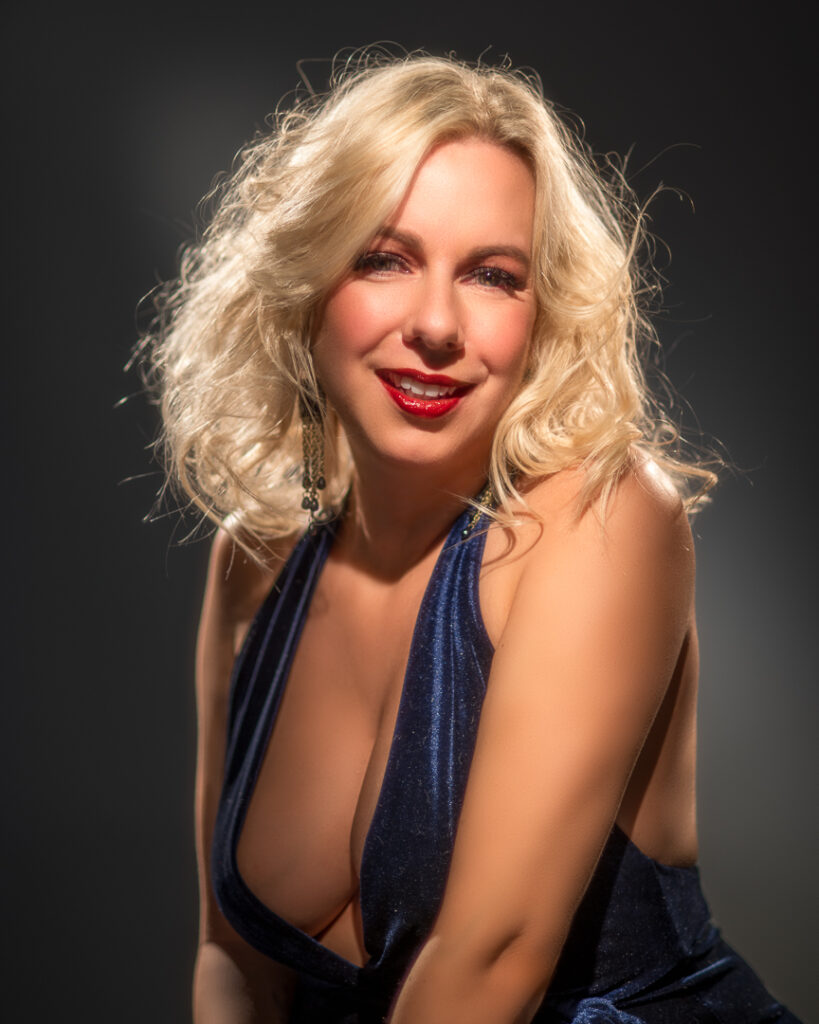
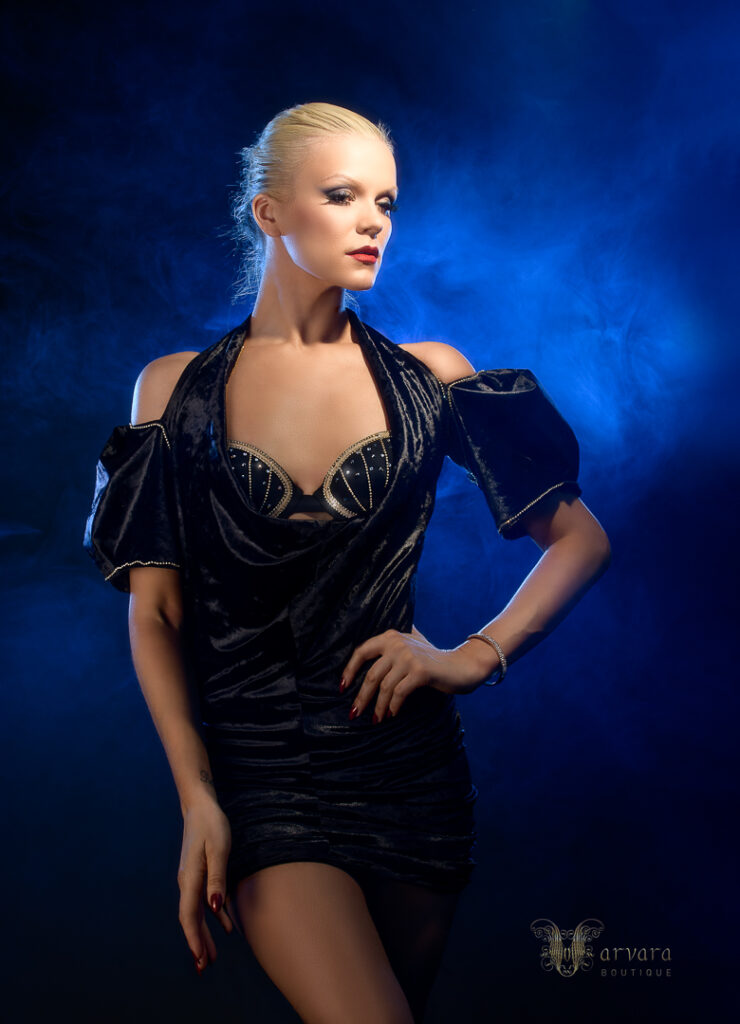
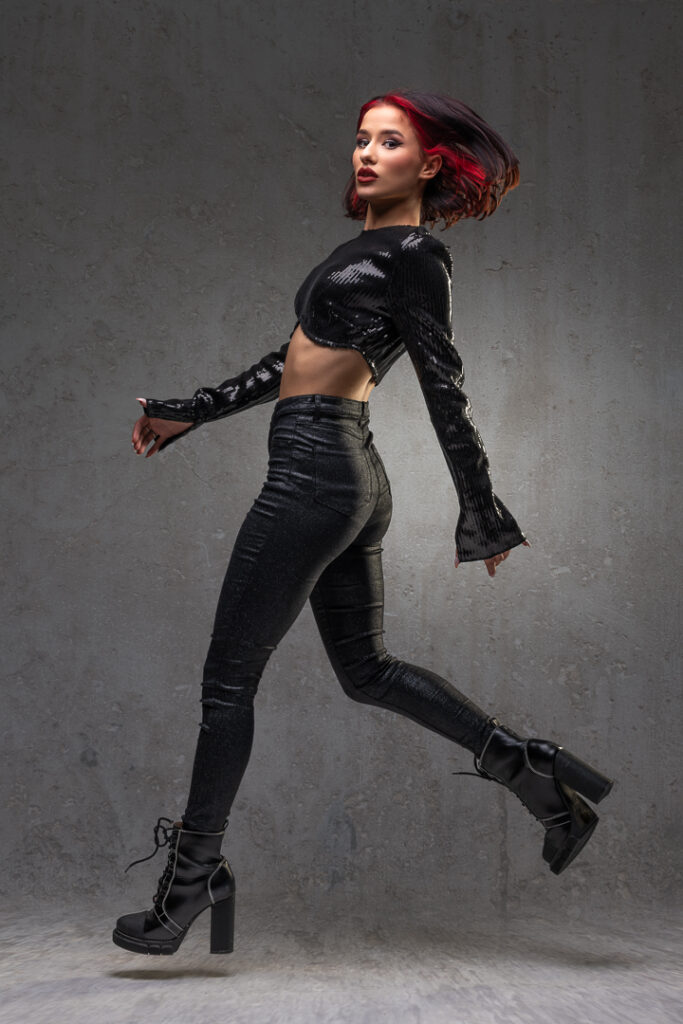
Then we’ll create some popular lighting moods from classic beauty lighting, soft full-length lighting and dramatic hard light for that vintage Hollywood Glamour look.
What you’ll need to bring
Camera: your camera will need to offer full manual control of exposure, and have a hot shoe with a standard centre pin. Note: these Canon cameras are not suitable for these workshops as their hot-shoes lack the standard centre firing pin: 200Dmkii, 1500D, 2000D, 3000D, and 4000D
Lenses: you’ll need a lens or lenses that cover around 35mm to 100mm on a 35mm (or so called “full frame”) camera, or the equivalent field of view for other camera sizes. A zoom lens is best for this type of work as it will allow you to crop in for 3/4 shots, head shots etc from the same lighting setup very quickly. Also, sometimes your model will surprise you with very expressive and wide hand or leg gestures and you’ll suddenly need an increased field of view We’ll be shooting at f/8 (or equivalent for your camera’s sensor size) all day, so expensive, “fast” lenses will be of no benefit. I use a 24-70 f/2.8 zoom, and a 70-200 f/4 zoom for almost all of my studio work (on a 35mm camera).
Cards and batteries: make sure you have enough of both!
Setting your camera up
I highly recommend you disable autofocus on your shutter button and just use the dedicated AF button on the back of the camera. This will allow you to focus once (usually on your model’s leading eye) and then compose the shot and shoot away without refocusing for every shot. You’ll also need to set the AF to a single point. You can use single-shot or continuous AF as this no longer matters if the AF is not triggered when you take a picture. I leave my camera in continuous AF (if I want it to stop auto-focusing, I stop pressing the button :-/ ). If you have Eye-detect AF, you can try this, and it will almost certainly work, but I do find that in most workshops, there will be at least one camera with Eye-detect AF that is more like Knee-detect AF. I do recommend finding out how to set your camera to use a regular single-point AF cursor in case Eye-detect AF doesn’t behave as expected.
Ensure you know how to:-
- Put the camera in manual mode
- Adjust the aperture
- Adjust the shutter speed
- Adjust the Iso
- Adjust the white-balance
Your camera should be set to record a raw file for each image. Developing the images yourself from the raw sensor data will give a much better result. Make sure you have set your camera up to do this before the session: i.e. either “Raw”, or “Raw+JPEG” if you also want a developed image using the values set in the camera.
For 90% of the setups we will shoot, your camera will be set to:
Iso 100*, 1/160th shutter speed, at f/8 with the white-balance set to “flash”.
(* or your camera’s “native” base Iso – eg, on a Nikon D850, this is Iso 64).
Bring your camera manual 🙂
Once we receive your registration request we’ll contact you to take a £100 deposit to confirm your place. Full joining instructions will be issued in the week before the workshop date.
